3. Upsell Giftnote at Checkout
Charge for gift messages at checkout with a surcharge product, and set the checkout widget's wording in Designs & widgets.
Written By Giftnote Team
Last updated About 21 hours ago
On the free plan? This feature needs the Core or Professional plan. Start a 30-day free trial from Settings > Subscription in the app, or email support@giftnote.com and we'll help you choose. Which plan do I need?
On Shopify Plus, you can charge shoppers a small fee when they add a gift message at checkout, like paying for gift wrap in a shop. Giftnote adds a hidden "Gift Message" product to their order as the fee.
Before you start: you need Shopify Plus, because Shopify only lets apps add blocks to checkout on Plus. Not on Plus? See Charging Customers for Giftnote (Developer Setup).
Step 1: Create a digital product for the fee
This product is the fee that gets added to the order.
- Go to Shopify Admin → Products → Add Product
- Name it something like Gift Message or Gift Wrap Fee
- Give it a vendor (brand) or tag you'll recognise, so you can hide it from your theme, packing slips and emails later. Giftnote doesn't need a particular one
- Uncheck "This is a physical product"
- Set your price (e.g. $1.99 or $2.99)
- Make it active, but hide it from your storefront. Pre-Launch Checklist: Giftnote Surcharge Product (Gift Message Fee) shows how
Step 2: Add the Giftnote checkout block
Giftnote has one checkout block, Gift Message. There's no separate block for the fee.
- Go to Shopify → Settings → Checkout, click Customize
- Add the Gift Message block. Don't pick "[DEPRECATED] Gift Message", which is the old block (once called "Checkout Message")
- If you use Shop Pay: In the checkout editor, select the Gift Message block and, under Checkout behavior, make sure Include block in Shop Pay is on. Test a Shop Pay checkout in Step 4
- Drag and drop the block where you want it to appear
Step 3: Link your surcharge product
You pick the fee product once, in the Giftnote app:
- In the Giftnote app, go to Settings → Gift Orders → Settings
- In the Surcharge & visibility card, select the product you created in Step 1 (pick its variant) as the surcharge product
- Save if a save bar appears
When a customer adds a gift message, the Gift Message checkout block adds one marked surcharge line to the order. If they remove the message, the line is removed.
Step 4: Test the checkout
- Add a product to your cart, go through checkout and add a gift message
- Confirm the surcharge product appears as one line item
- Remove the gift message and confirm the surcharge line is removed
- If you use Shop Pay, repeat the test with Shop Pay
If all of that works, the fee is set up.
Step 5 (optional): tell shoppers about the fee
Update the checkout widget's wording so shoppers know there's a charge, for example "Add a personal gift message for $2.99":
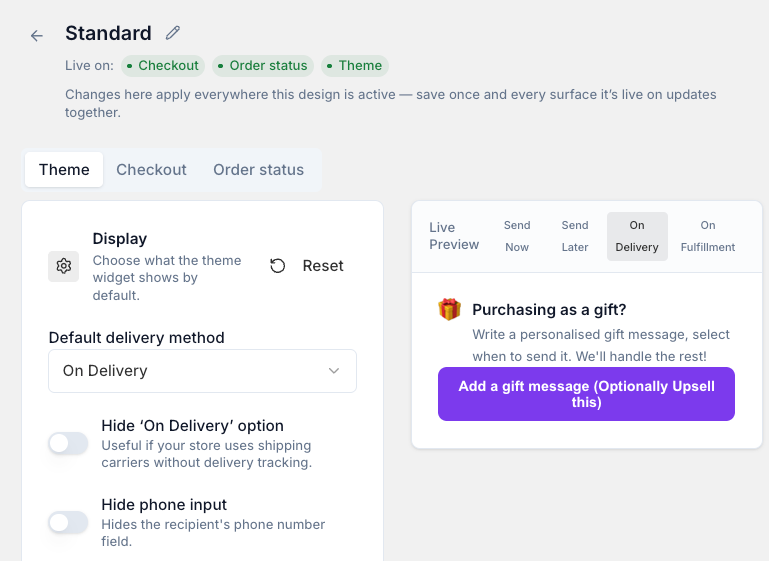
- Go to Settings → Gift Orders → Designs & widgets. Under Widgets, check which design the Checkout widget uses, then open that design and edit the text on its Widget and Dialog tabs. Switch the Preview to Checkout to see the result
- Save your changes
Next, hide the fee product from your storefront, packing slips and Klaviyo emails. See Pre-Launch Checklist: Giftnote Surcharge Product (Gift Message Fee).
Final go-live checklist
- The surcharge product is hidden from your storefront and collections
- Checkout only works with at least one real product in the cart
- The product is excluded from packing slips, Klaviyo emails and (optionally) total item counts
- Automatic fulfilment of the surcharge item is turned on in Settings → Gift Orders → Settings. Marking the product digital does not auto-fulfil it on its own.
- Gift messages appear in a Shop Pay checkout, if you use Shop Pay (manual check)
- The upsell appears cleanly at checkout
Related articles
Still need help? Share an idea